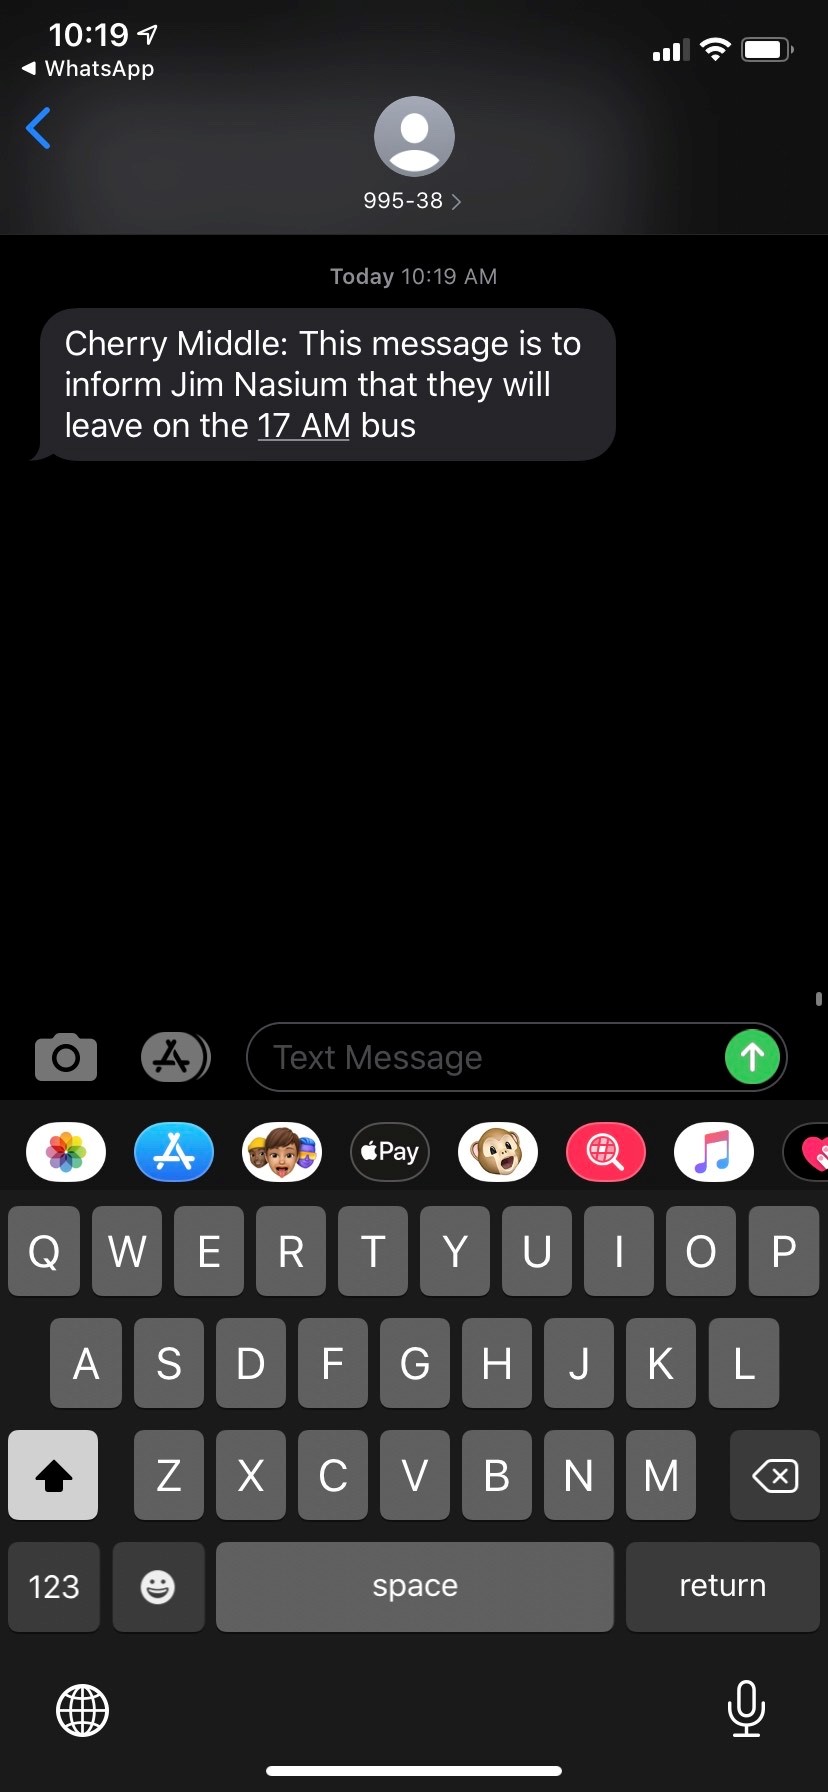
If you ever find yourself in a situation where you would like to be able to send more personalized messages with specific information related to each contact in a contact list (like their particular bus route, username or password for some account, class designation, grade level, etc.), you can follow these directions to accomplish this!
- Create an Excel file with the column headers you would like. Options include:
- First Name
- Last Name
- Phone number (1 column per number)
- Email (1 column per email)
- Any additional fields like the ones mentioned above (bus route, grade level, etc.)
- Save the Contact List file as a .csv
- Click File -> Save As
- Choose where to save the file on your computer (give it a name!)
- Change the file type to .csv (comma delimited) (NOT the UTF-8, MS-DOS, or Macintosh .csv)
- Start creating your Contact List!
- Log in to SwiftK12
- Go to Contacts -> Create a New Contact List
- Give the List a name (Description is optional)
- Select “Import File” as the List Type
- Click “Next”
- Click “Browse” and select your .csv from Step 2.
- Click “Next”
- Map your fields (This is where the merge fields are designated!)
- Next to each column header from your file, select a Type from the dropdown
- For any that you would like as a merge field, make sure you set them as “Other.”
- Double check your selections, you will not be able to edit the mapping later.
- Click “Next” once everything has been mapped as desired.
- Your Contact List is done! You will be brought back to the Contact Lists
- Take a quick peek at the contents of your list before proceeding
- Click the pencil icon next to your new list
- Then, click on the pencil icon next to any contact
- Observe the Custom Field names, in this example, I have “BusRoute” and “BusType”
- I will need to use [busroute/] and [bustype/] in the next step (not case-sensitive).
- Create your message!
- Click Home -> Send an Alert
- Since the merge fields only apply to the custom list, we recommend only sending to the custom list created in Steps 3 and 4.
- Follow the general instructions for creating an alert up to the point where you compose the message content.
- Draft the content of the message using your merge fields from Step 5. The format is always Left Square Bracket, Column Header Name, Forward Slash, Right Square Bracket (ex. [columnheadername/]).
- Launch the message! It should replace the information in brackets with the information from the original .csv used to create the custom contact list.
Note: The [firstname/] and [lastname/] fields used in this example are built-in and worked because I designated which headers were the first and last name in step 4. You should never need to mark the first name or last name column as “other” in order to use them as a merge field.
