As you continue to use Swit911, you may find yourself thinking “What is the best way to get a list of just the people from this particular street, town, state, etc.” This guide is designed to show you how to make these kinds of “sublists.” For clarity, let us assume that the list we are getting the contacts from is the “Master List” and the list we are creating is the “sublist.” The benefits of making a sublist include:
- No need to import the sublist; the system can get the contacts from the Master List for you based on the criteria provided.
- Unlike with a separate import of a sublist, The contacts are “connected” so any change made to the contact in the sublist will also change their information in the Master List, and vice-versa.
- In some unique cases, instead of drawing a map zone to filter your contacts when sending an alert to the Master List, you can just use the sublist instead!
Step 1: Hover over “Contacts” and click “Sublists.”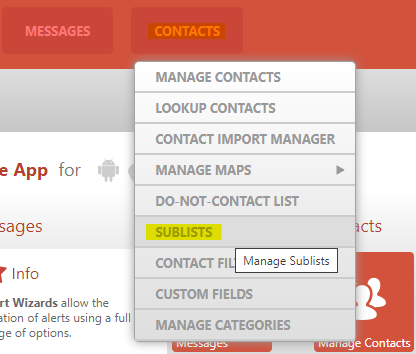
Step 2: Click “Create Sublist.”

Step 3: Select your "Source List" that you would like your contacts to come from (Typically a Master List containing all of your contacts).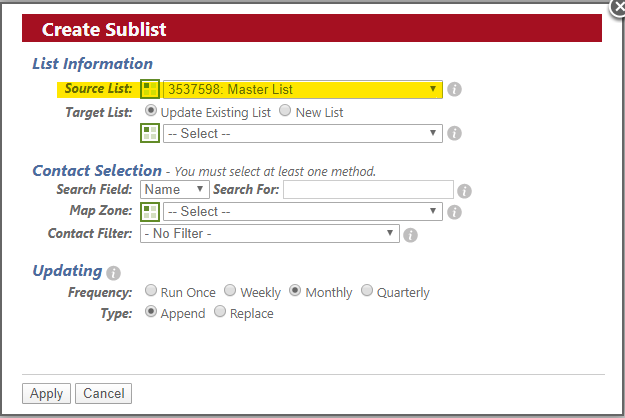
Step 4: Choose the “New List" option and provide a name for the list when prompted. This is your “Target List” where specific contacts from the Source List will be assigned to.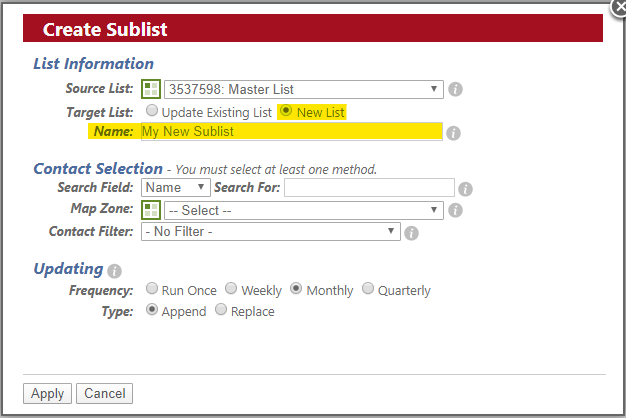
Step 5: Change the "Search Field" to the one you wish to filter by and select the specific text to search for. Ex: Search Field: “Street” and Search For: “Main” would collect anyone whose street address contains the word “Main” (this is not case sensitive).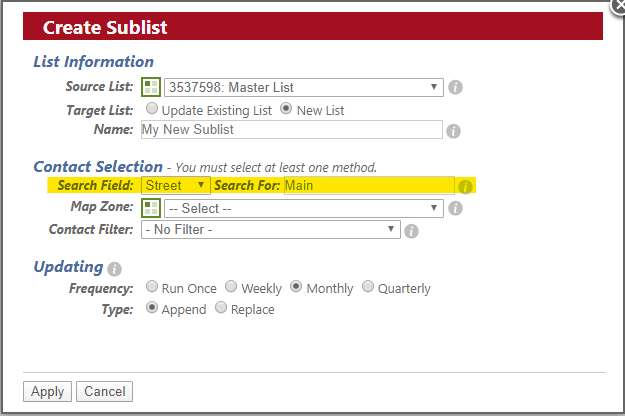
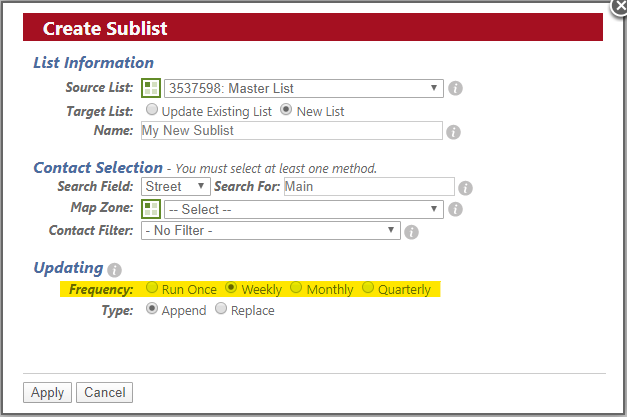
Step 6: Decide how often you would like Swift911 to take your now filtered contacts from your "Source List" and assign them to the "Target list." The most frequent regularly-occurring update schedule available is “Weekly.”
Step 7: Decide on the Updating Type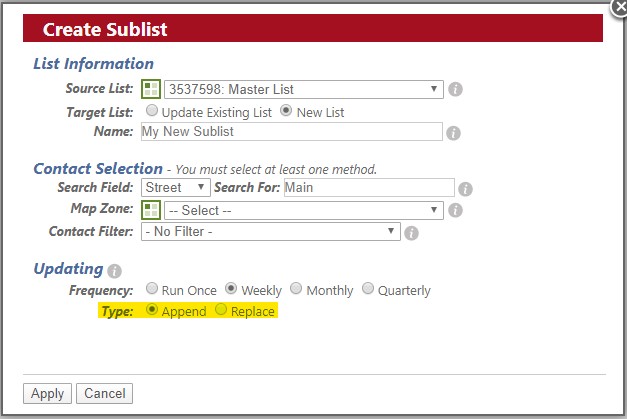
- Append: Will add any new contacts that fit the criteria in the "Source List" to the "Target List."
- Replace: Will completely wipe out all contacts in the Target List and replace them with those that fit the criteria in the "Source List."
Step 8: Click “Apply”

Now there will be a new list under Contacts -> Manage Contacts with the name provided in Step 4. Within about 5 minutes, it should start to populate based on the criteria provided!