When in a serious crunch for time, and you have a message that you must share with your contacts as soon as possible, the Quick Alert feature in the Mobile app can help you create and send a message without ever needing to use your computer. This guide is designed to walk you through using this feature.
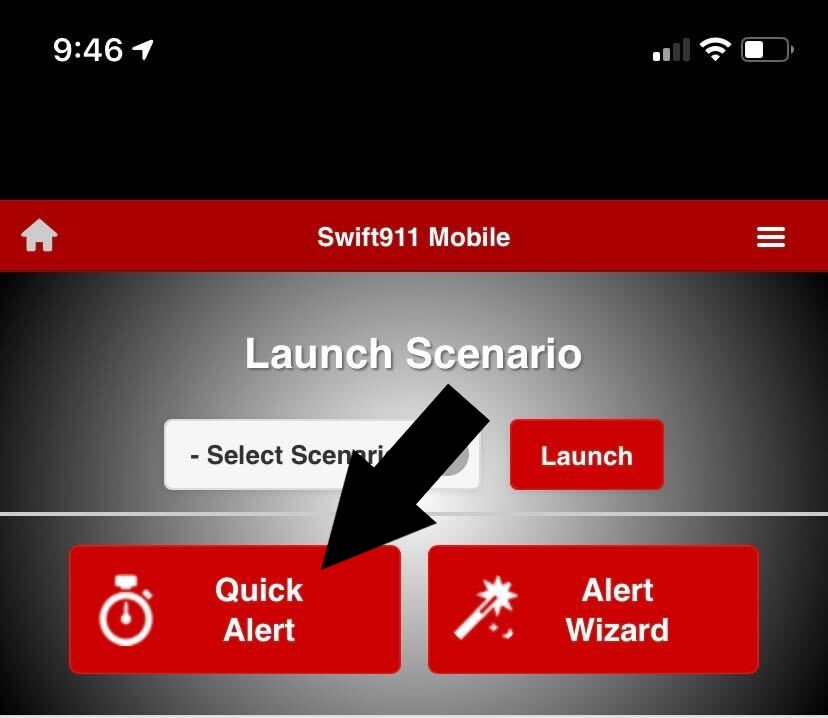
Step 1: From the home page of the mobile app, tap “Quick Alert.”
Step 2: Give your Alert a name, and tap the menu for “Contact List.”
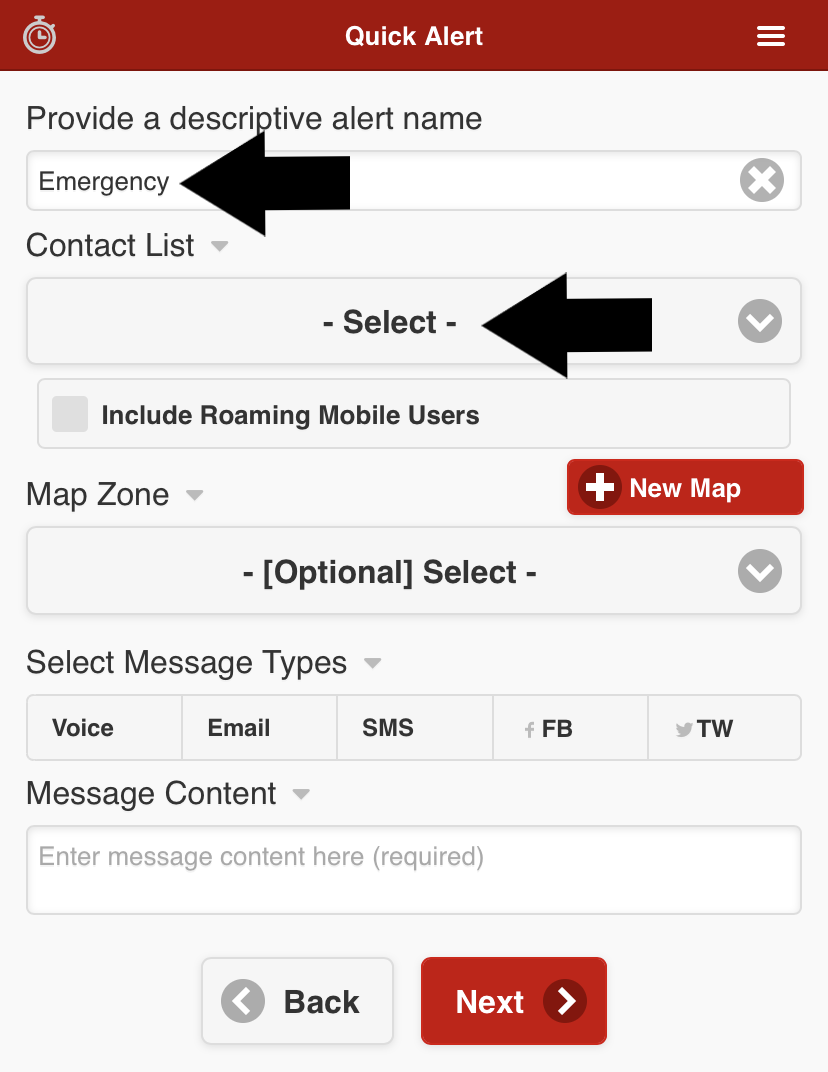
Step 3: Use the search function or scroll to find your desired contact list and tap on its name. Your newest contact list will be at the top. You may only select one list or list group.
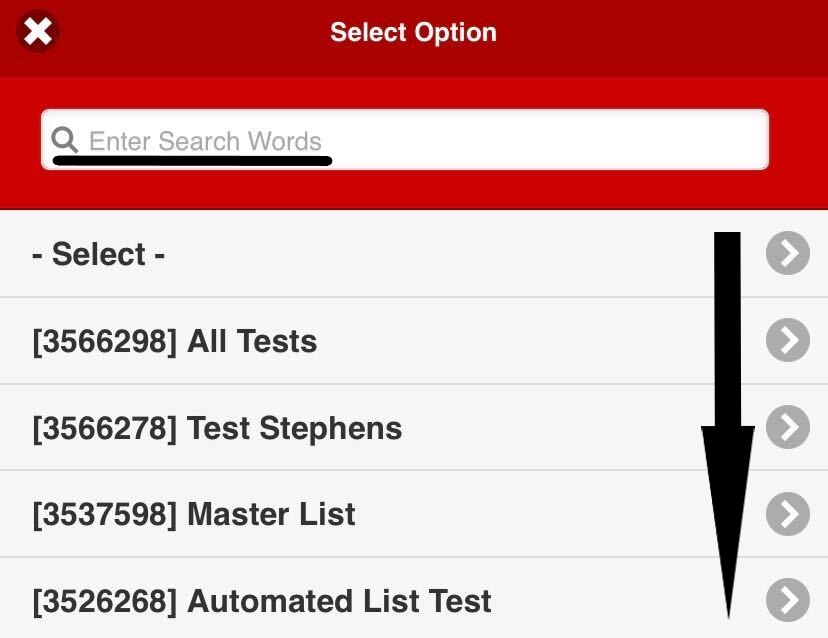
Step 4 (optional): If desired, select a Map Zone from the ones you’ve made in the past to filter contacts based on geographical location (contacts must be geocoded in Swift911 to use this feature as intended). You can select a map like you did for your contact list in Step 3.
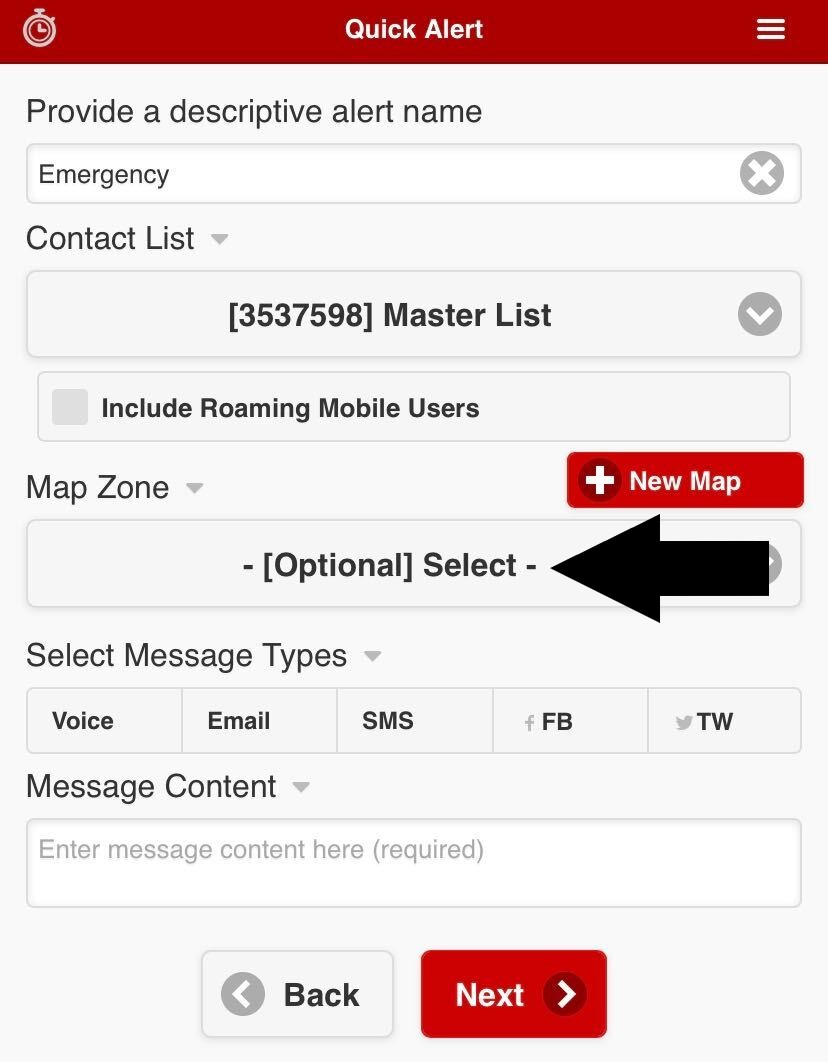
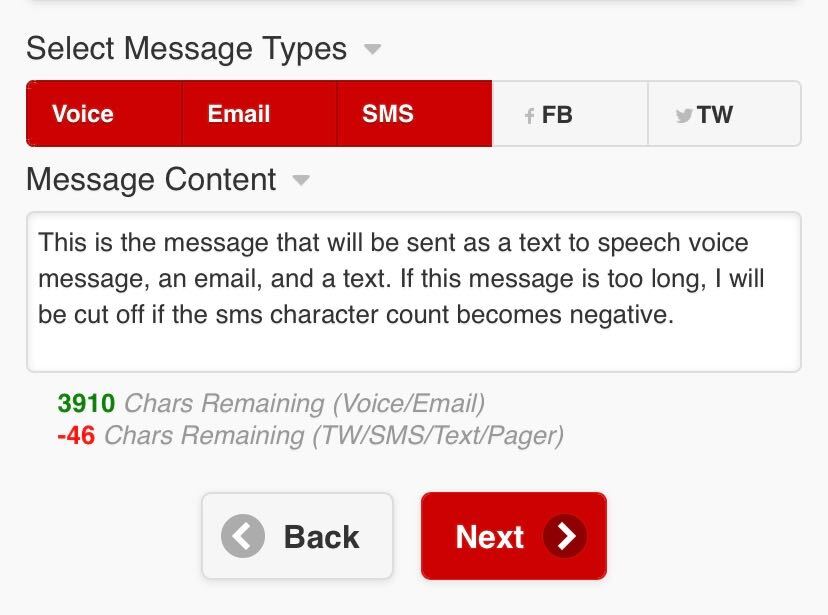
Step 5: Tap each message type that you would like to include (Voice, Email, SMS, etc.)

Step 6: Tap where it says “Enter message content here (required)” and type in your message. The message will be the same among all message types if you use Text To Speech for the Voice Message (discussed further in Step 8).
Note: If you use SMS and exceed 140 characters (you can check "Chars Remaining" on the screen to check the number of characters you can still use for your message type(s)), the text that goes out will be cut short, but a phone call and/or email would have the full message.
Step 7: Tap “Next.”

Step 8: Based on your selections from Step 5, you will have a number of options:
| Message Type | Settings Option(s) |
| Voice |
Caller ID: You can choose a hotline to call from using the drop-down, post the voice message to this hotline, or tap "Use Custom CallerID" to use the default that was set up with your account (or type in your own, please use a valid Caller ID). Text to speech is enabled by default. You can tap/uncheck "Use TTS (Text To Speech)" to record your own voice. Tap "Create Recording," then "Begin" when you are ready to start recording, and then "Done" when you are finished. You can tap "Listen" at this point to hear your message, and start over from the "Create Recording" button if need be. |
| Confirm or change the Email From Name and From Address. | |
| SMS | Confirm or change the SMS From Name. |
| Choose a Facebook account to post to. | |
| Choose a Twitter account to post to. |
Step 9: Tap “Next.”

Step 10: Carefully review your selections up to this point in the following screen, before tapping “Launch.”
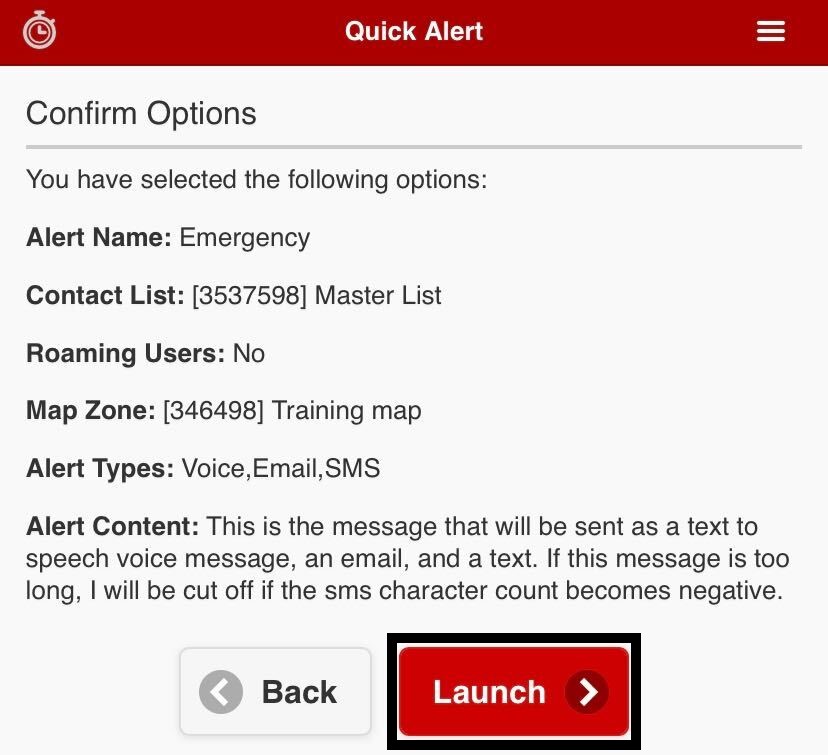
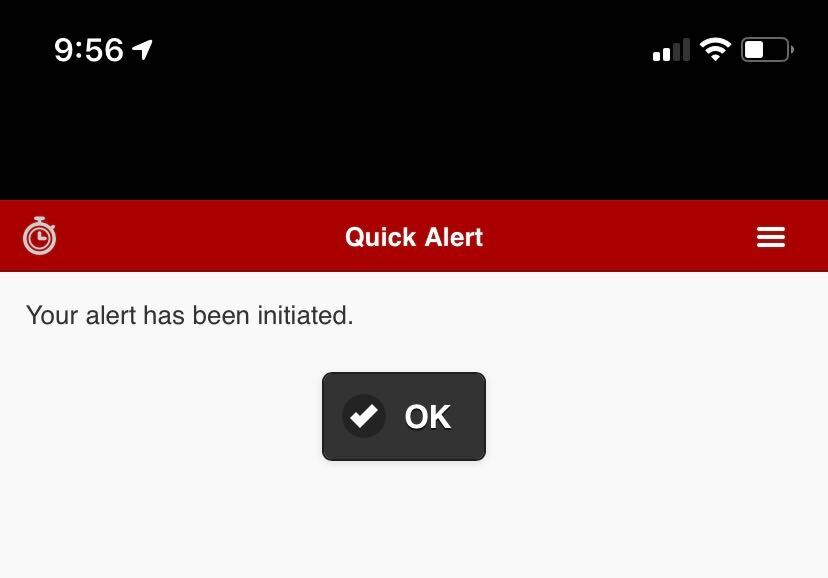
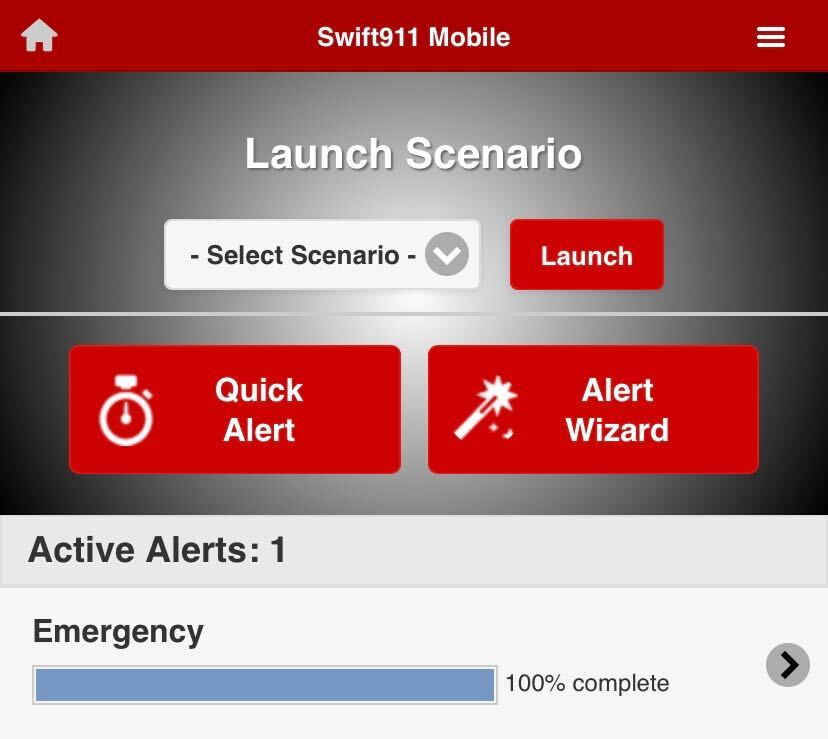
Step 11: Success! You will see an alert confirmation screen. Upon tapping “OK” you will be navigated to the home screen where you can see the progress of your alert.
