This guide is designed to show you how to take pre-existing contact lists and messages from your Swift911 account and launch them quickly from your phone. This means you’ll need to already have your message(s), contact list, and (optionally) a map zone created in Swift911 before using this guide.
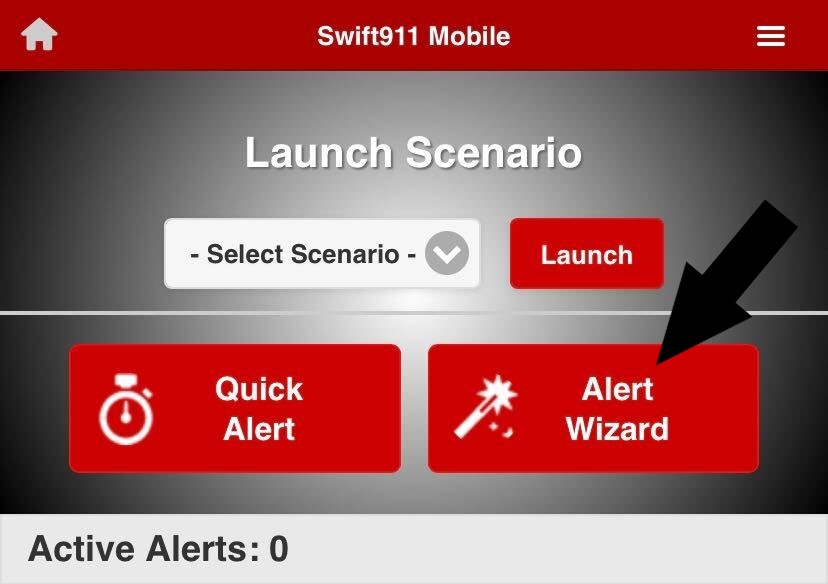
Step 1: From the Mobile App, Tap the “Alert Wizard.”
Step 2: Give your Alert a name, and tap “Contact List.”
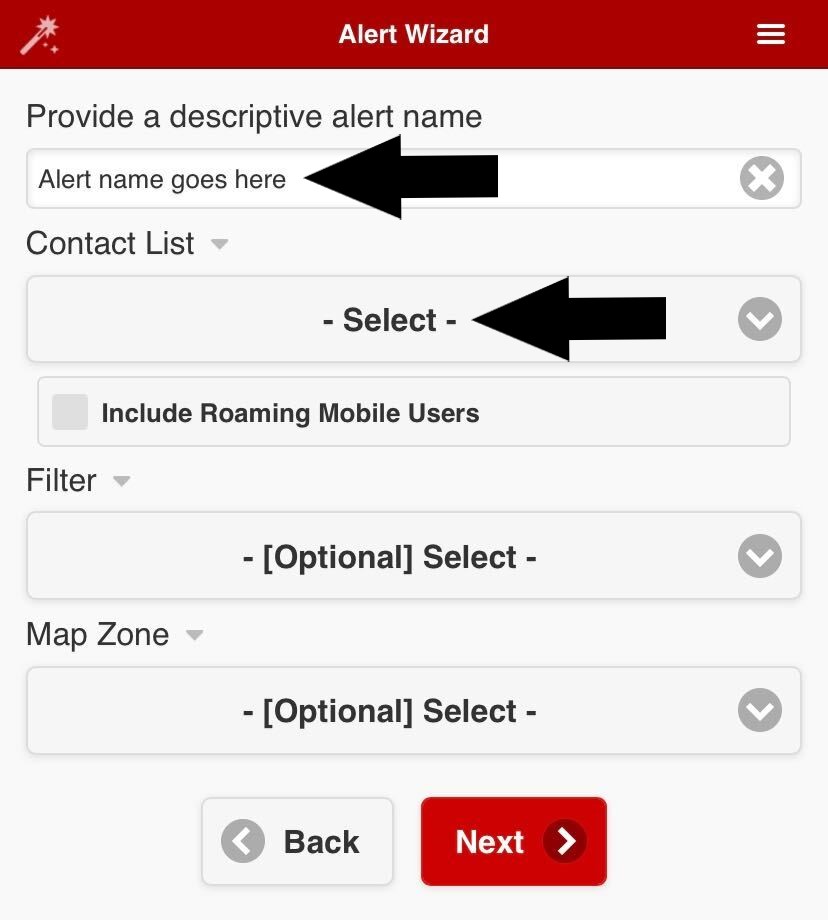
Step 3: Use the search function or scroll to find your desired contact list and tap on its name. Your newest contact list will be at the top. You may only select one list or list group.
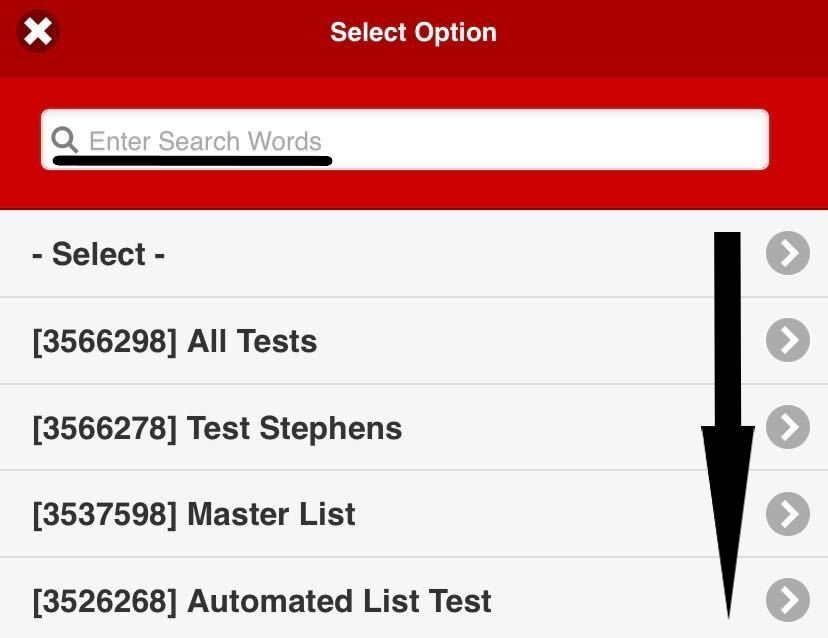
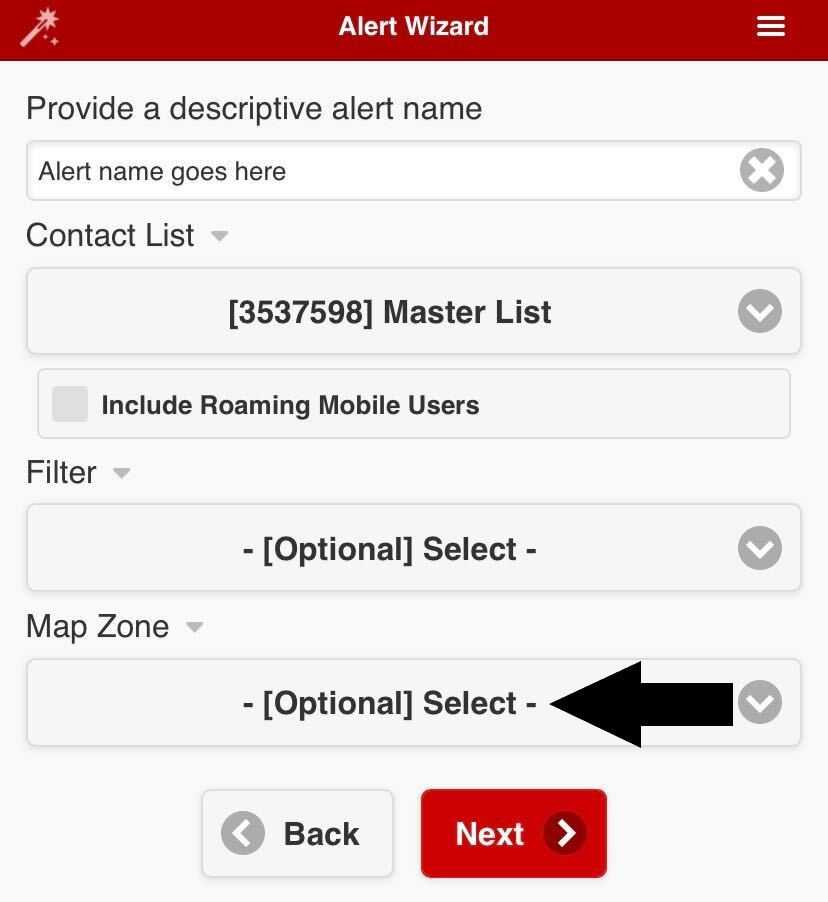
Step 4 (optional): If desired, select a Map Zone from the ones you’ve made in the past to filter contacts based on geographical location. You can select a map like you did for your contact list in Step 3.
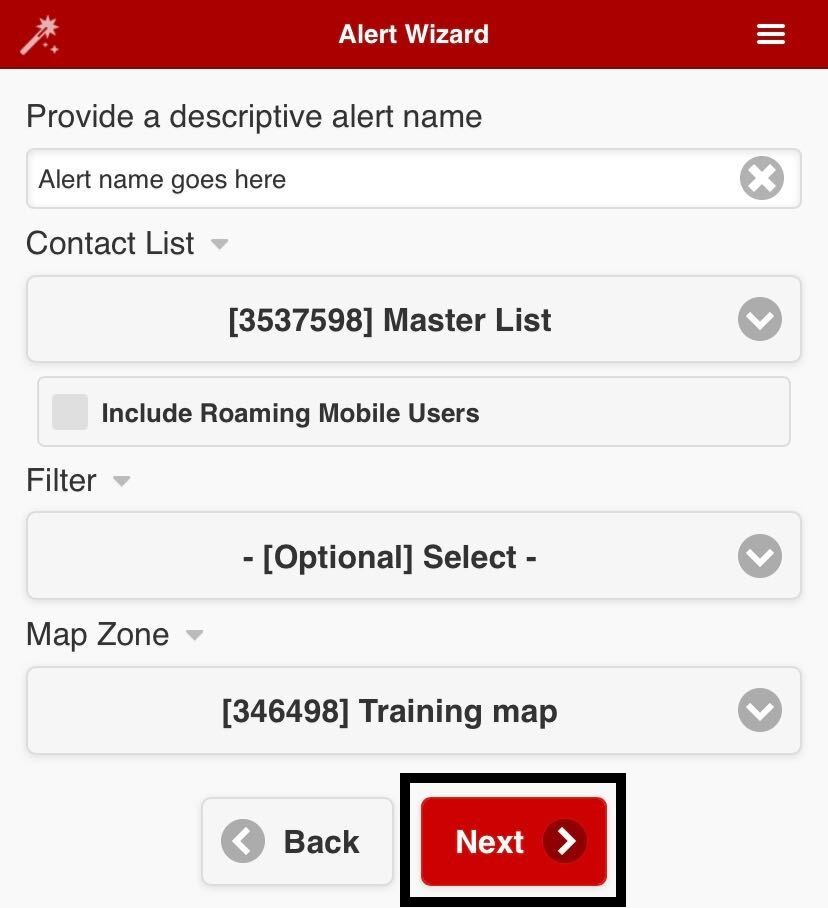
Step 5: Tap “Next” at the bottom.
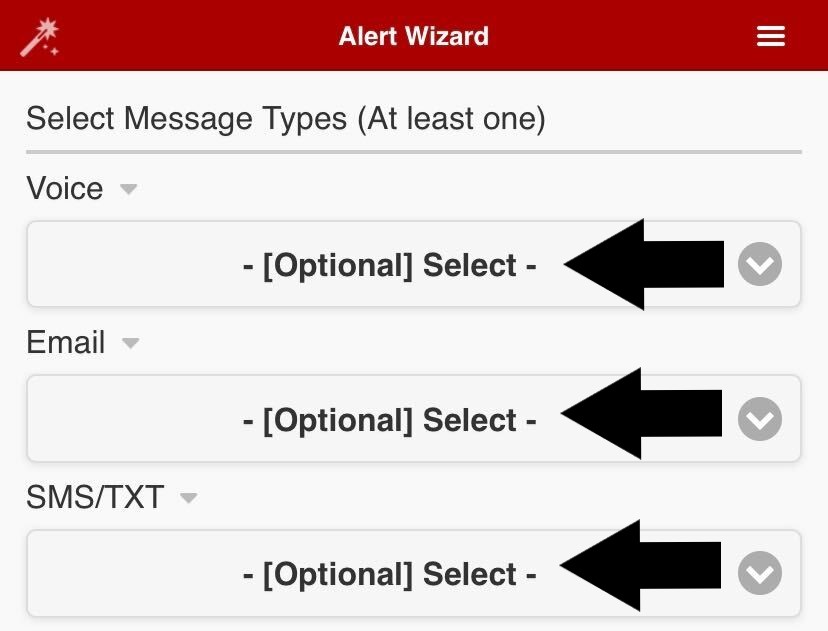
Step 6: Select the different messages you’d like to send. You can send up to one of each type in the alert wizard. You can select a messages like you did for your contact list in Step 3.
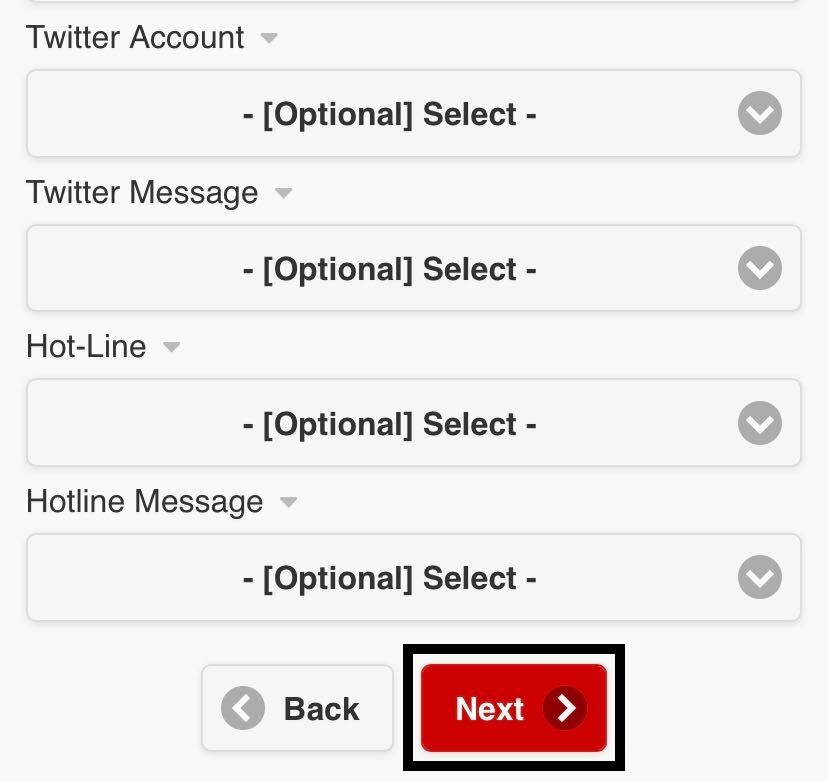
Step 7: Once all of your desired messages have been selected for the alert, scroll down to the bottom of the screen, and tap “Next.”
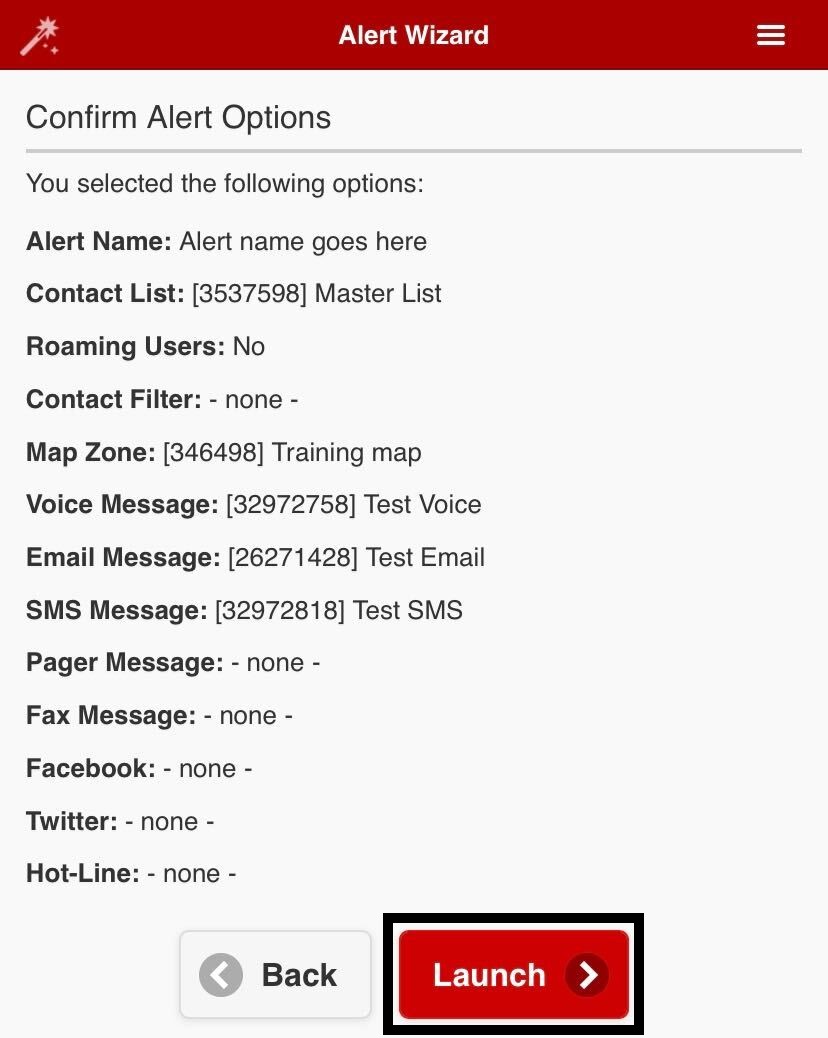
Step 8: Carefully review your selections up to this point in the following screen, before tapping “Launch.”
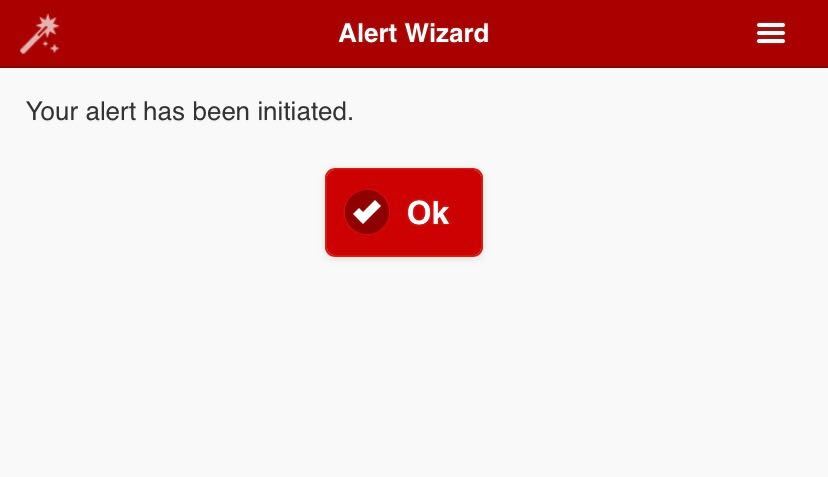
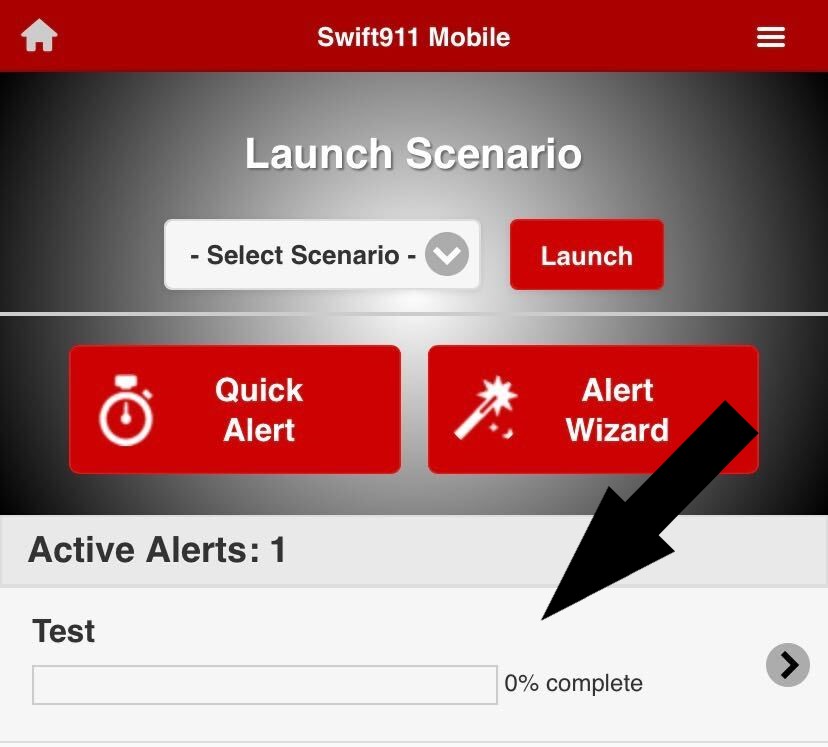
Step 9: Success! You will see an alert confirmation screen. Upon tapping “Ok” you will be navigated to the home screen where you can see the progress of your alert.
